Creating a creative
Add a creative to a task using the stepper, pick a format, and start producing materials with AI or uploads.
A creative is a single deliverable you produce inside a task — for example a 9:16 UGC video or a 1:1 static image. This guide walks through building one end to end, from adding it to a task to submitting it for review. The deep detail on each kind of generation lives in linked articles; here we cover how the steps fit together.
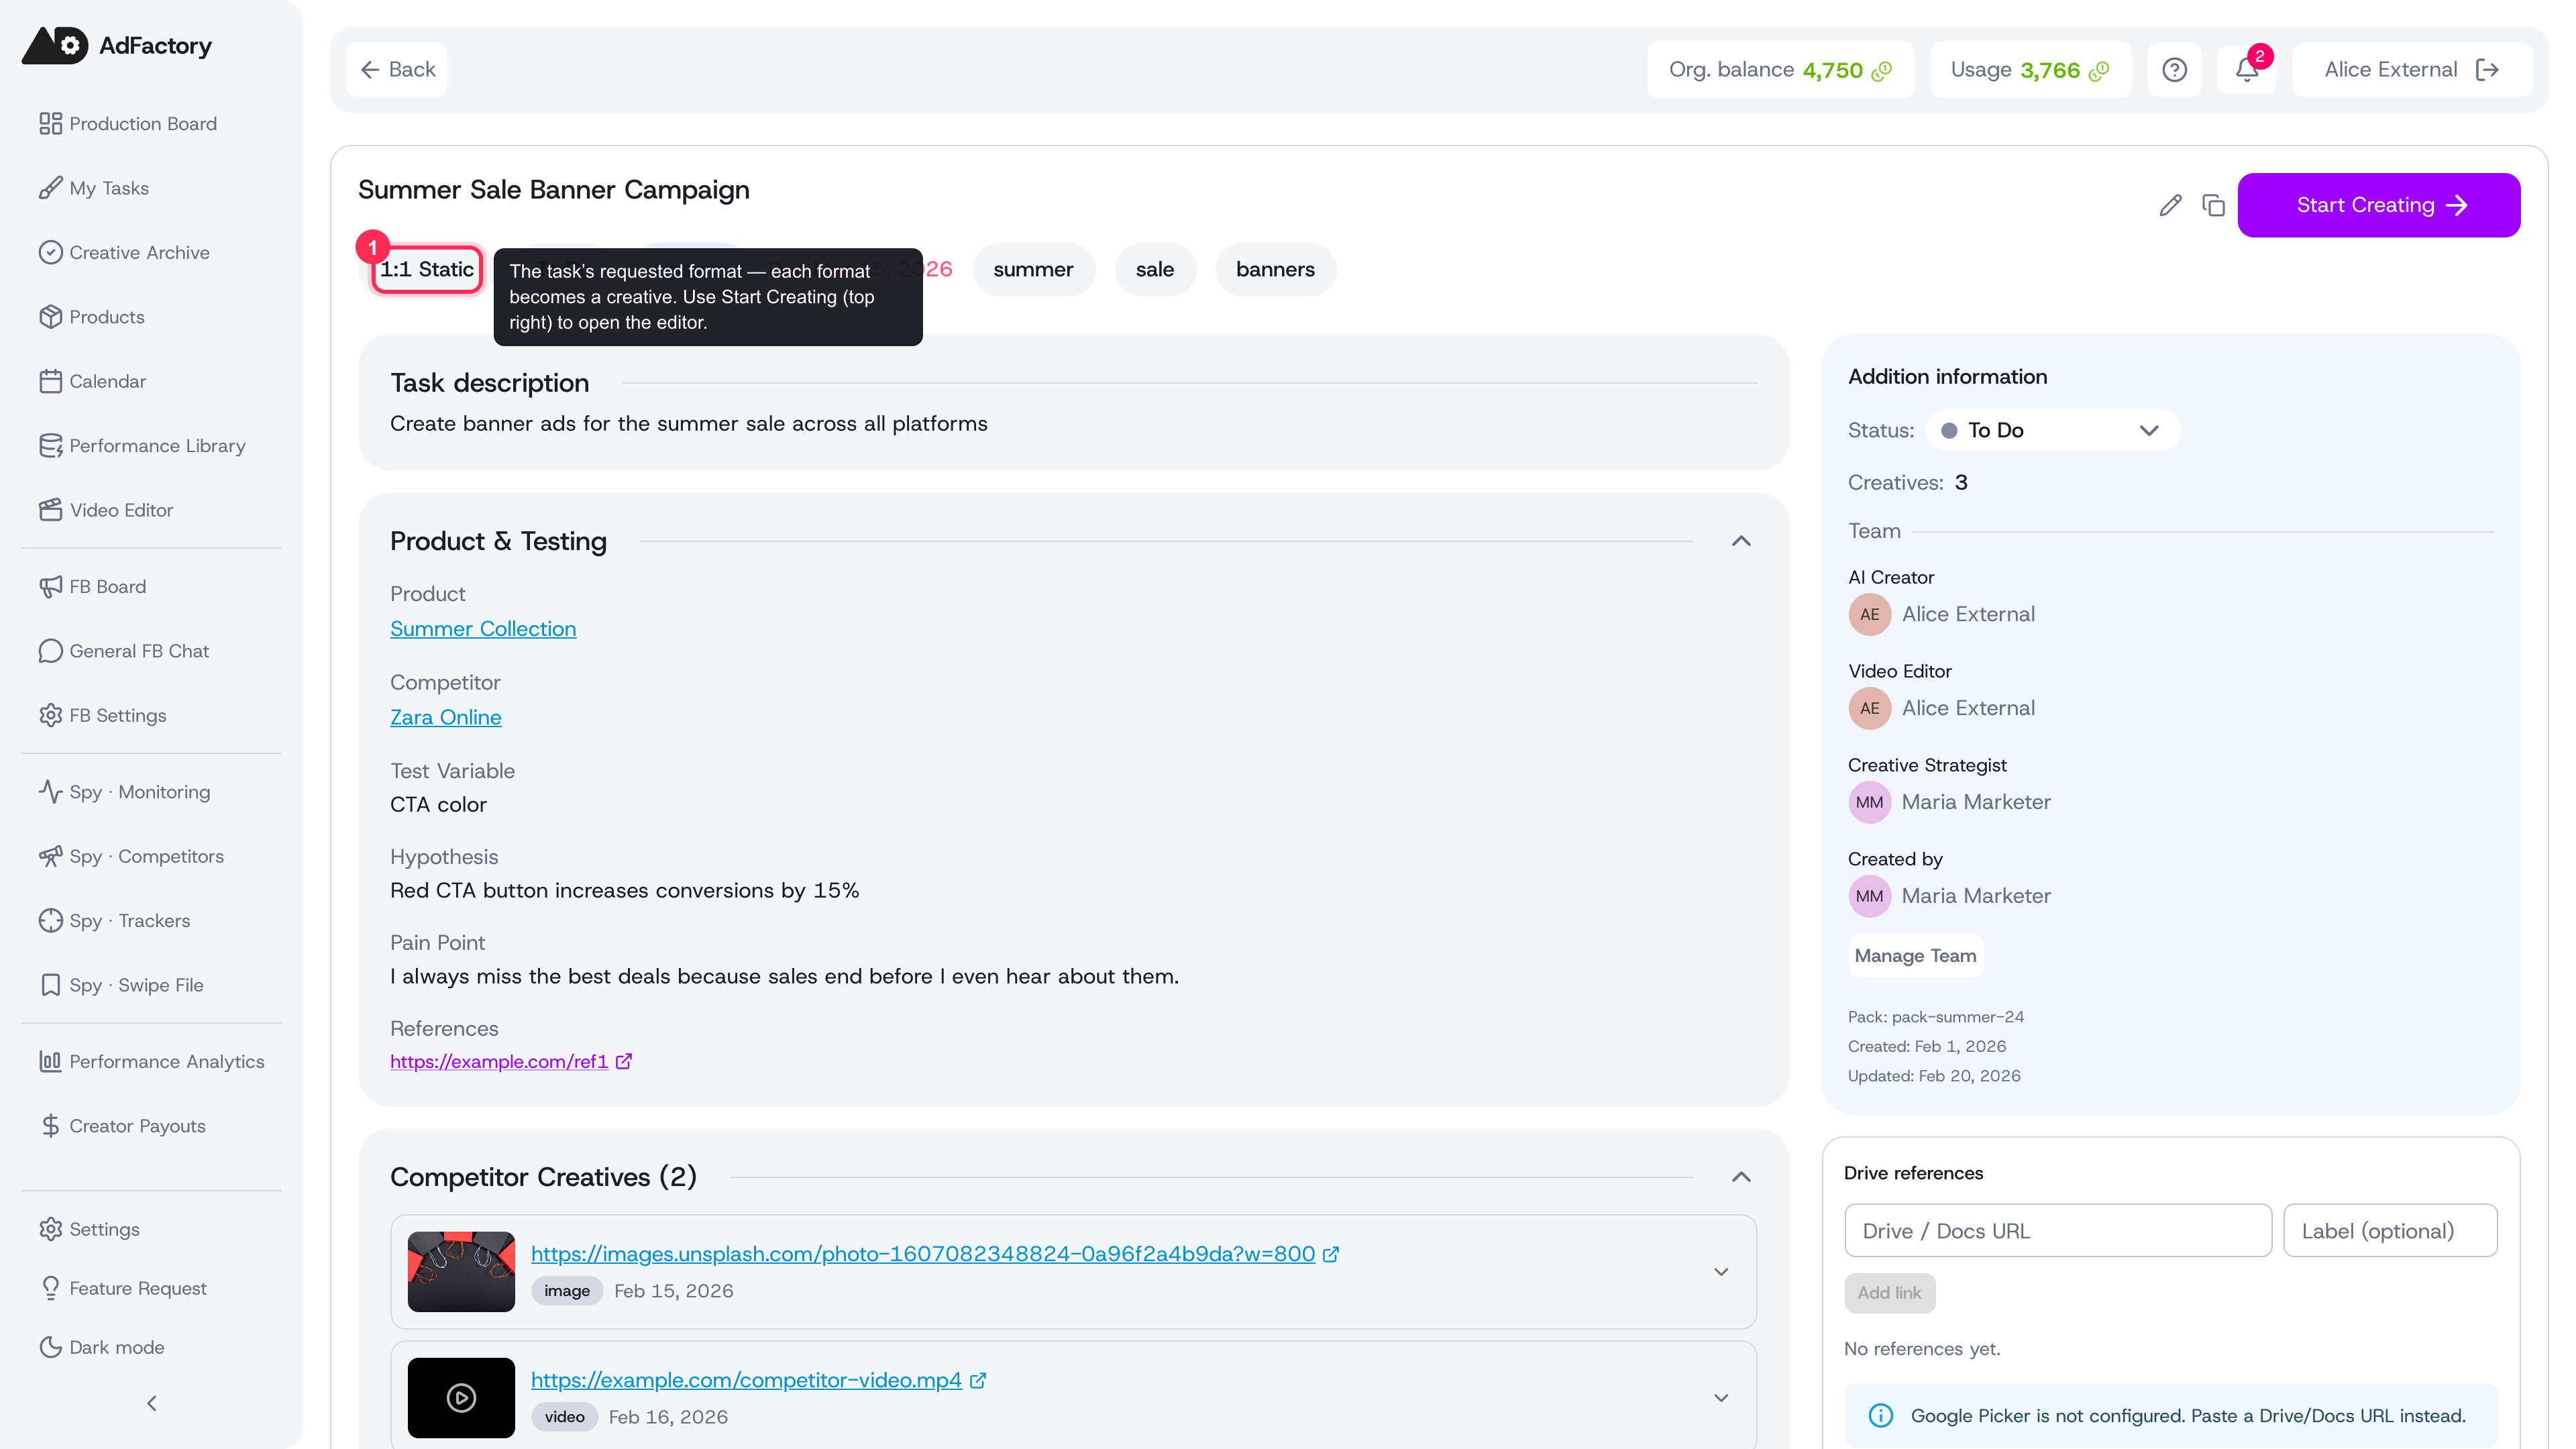 From a task, the requested formats are shown and the Start Creating button opens the editor
Add a creative and pick a format
- Open the task you want to work in from the task board or your My Tasks view.
- Choose Start Production to add a creative to the task.
- Pick a format — such as 9:16 UGC, 1:1 Static, or 16:9 Demo — to match the placement and channel you're producing for.
If you're still getting oriented, the creatives overview explains the full lifecycle from draft to approved, and creating a task covers the work that wraps around your creatives. The format you choose shapes every material you produce, so set it before you start.
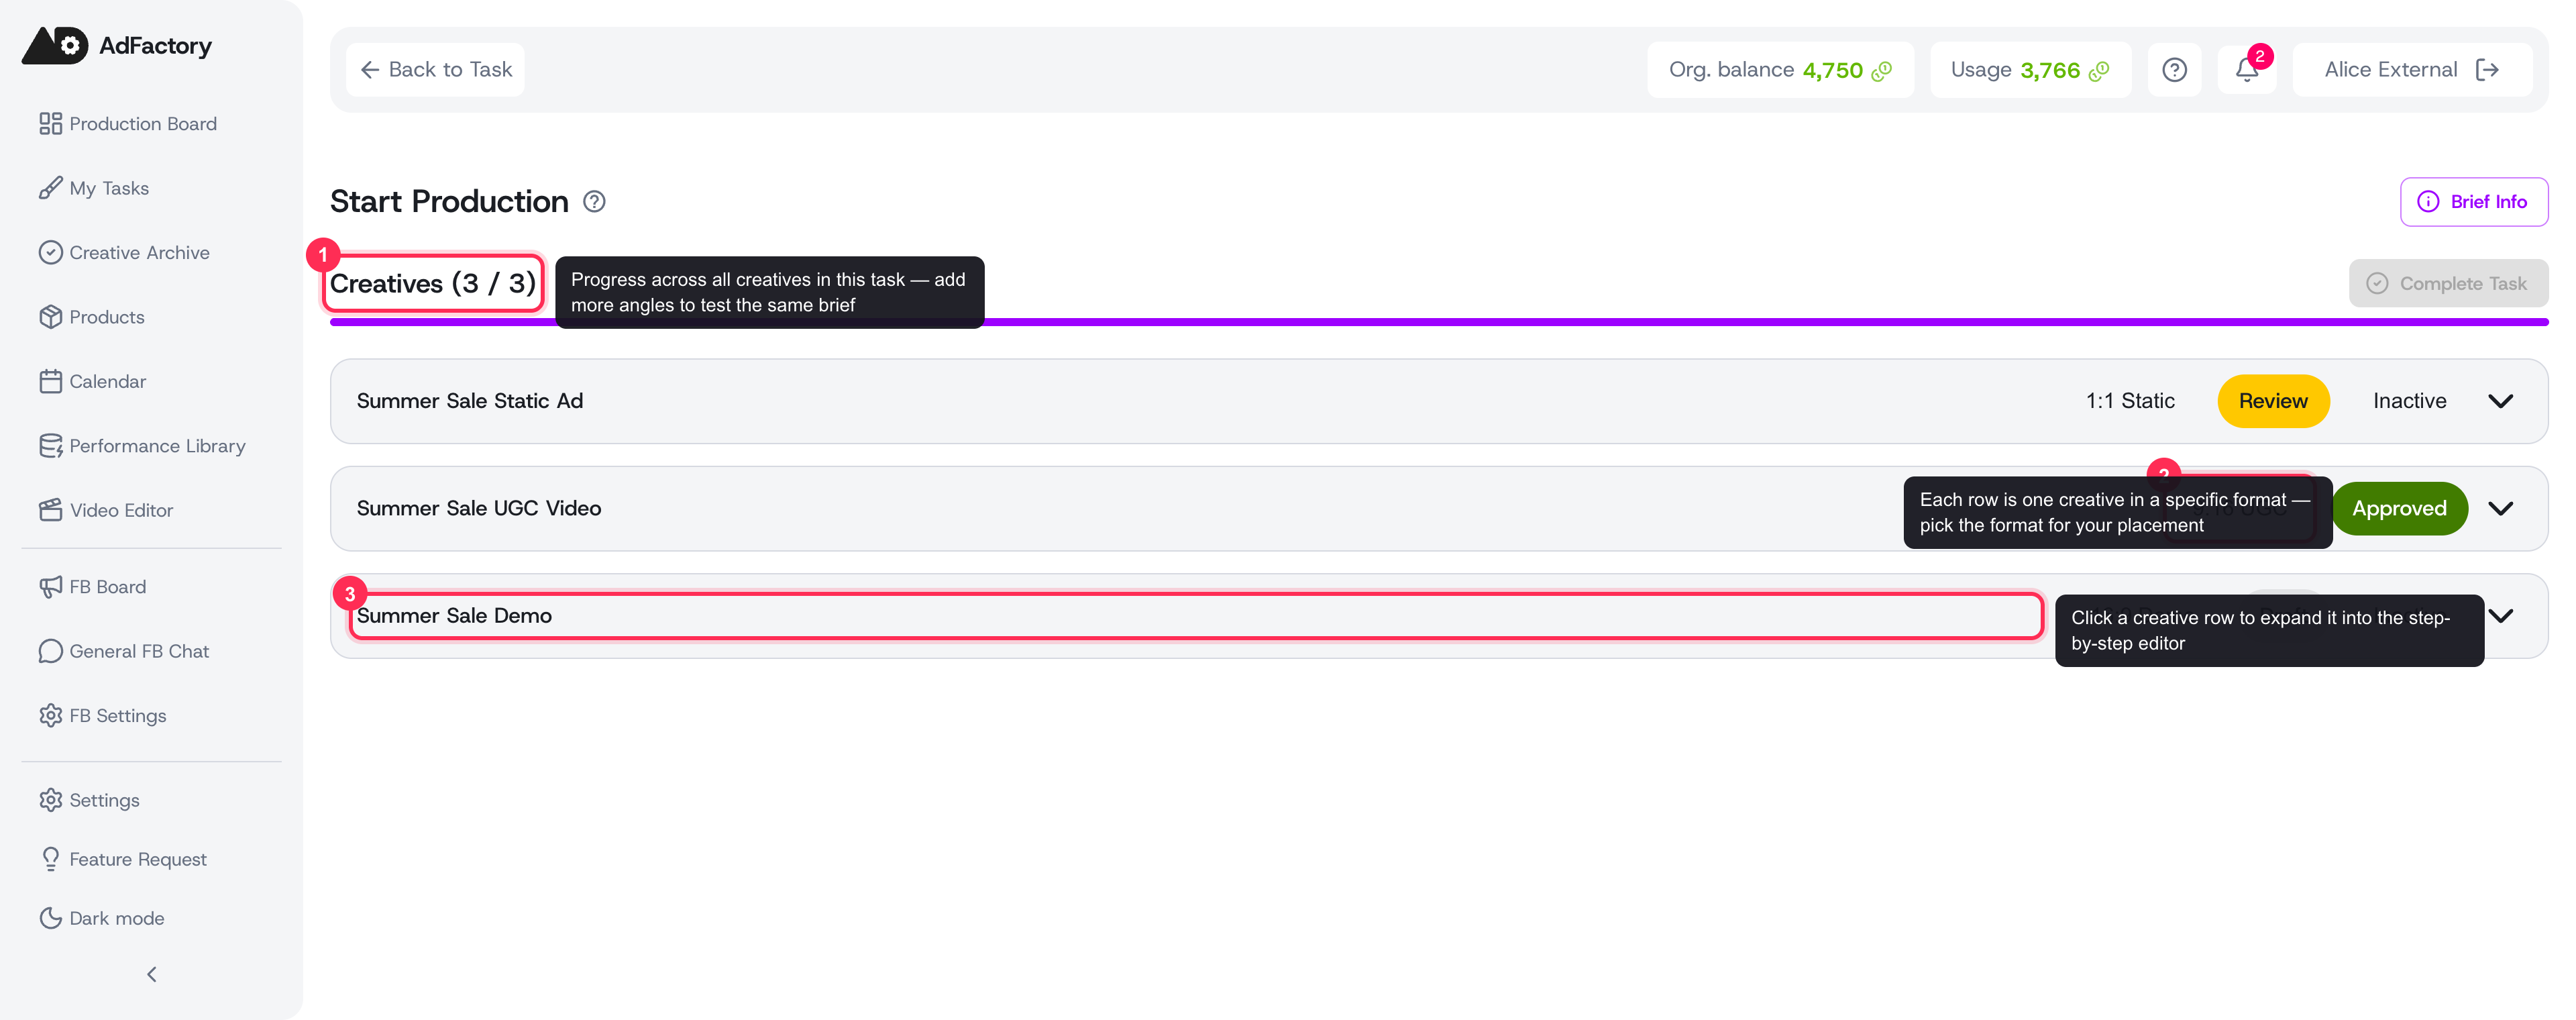 Every creative in the task lives here, each tied to a format; click a row to open its editor
Work through the editor steps in order
The creative opens into a step-by-step editor. As a creator, you move through these steps in order:
- Picture — produce the still visuals for your creative.
- Audio — add a voiceover or other spoken audio.
- Video — create the moving footage.
- Music — add a backing track.
- Submit — send the finished creative into review.
Reviewers see additional steps after Music: Review Materials, Select Body Clips (see using body clips in a creative), Subtitles, Upload Final Media, and a closing Final Review. The exact steps you see depend on your role on the task.
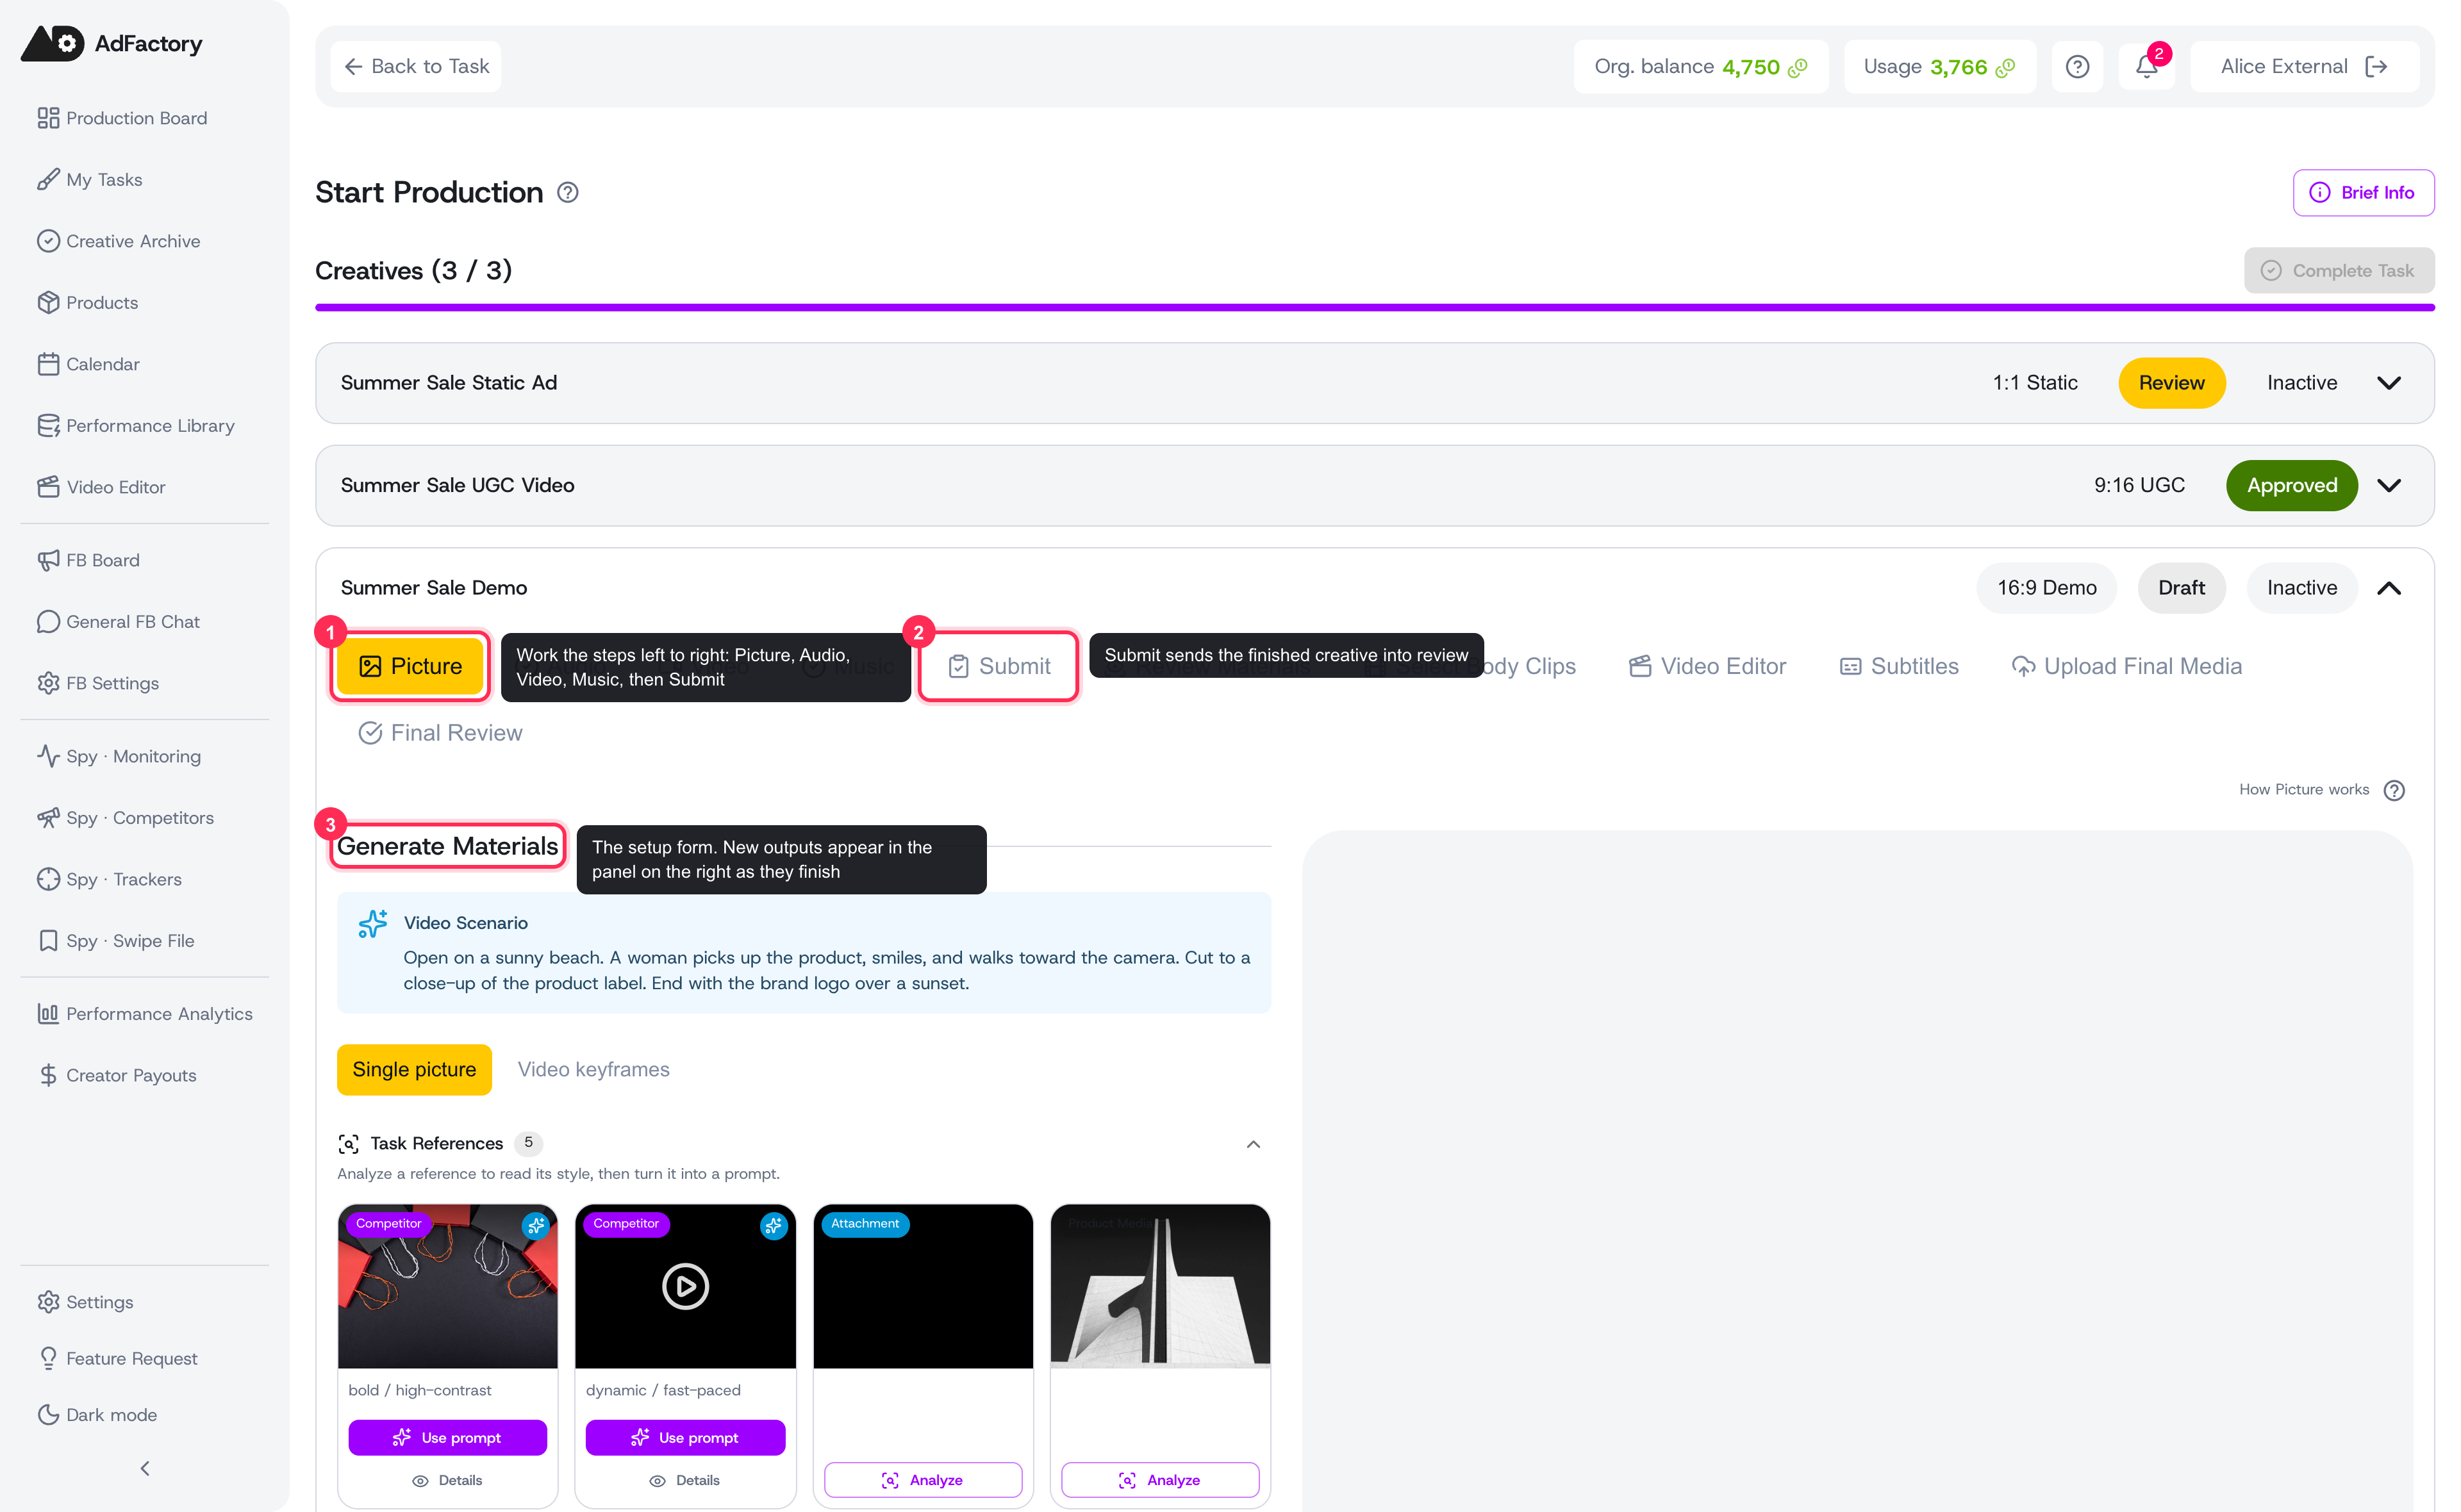 The creative opens into a step-by-step editor: a setup form on one side and your generated materials on the other
Each step pairs a form with your materials
On the Picture, Audio, Video, and Music steps, the screen is split in two. On one side is the form where you set up what you want to create; on the other is a live panel showing the materials of that type you've already produced for this creative. New outputs appear there as they finish, so you can review, compare, and reuse them without leaving the step.
For how each kind of generation works, start with the AI generation overview, then dive into the per-mode guides:
- Generating images for the Picture step.
- Generating and upscaling video for the Video step.
- Generating audio and music for the Audio and Music steps.
- Lipsync to match a voice to a face.
- Subtitles for on-screen captions.
You can also bring in your own files — see uploading files and the Google Drive integration.
Mark your final media
Not every material you create is part of the finished ad. In the materials panel you can mark a material as final with the star, while everything else stays as source media you used along the way. This keeps the deliverable clean and tells reviewers exactly which outputs matter.
You need at least one material before you can submit, so make sure your work is captured here before moving on.
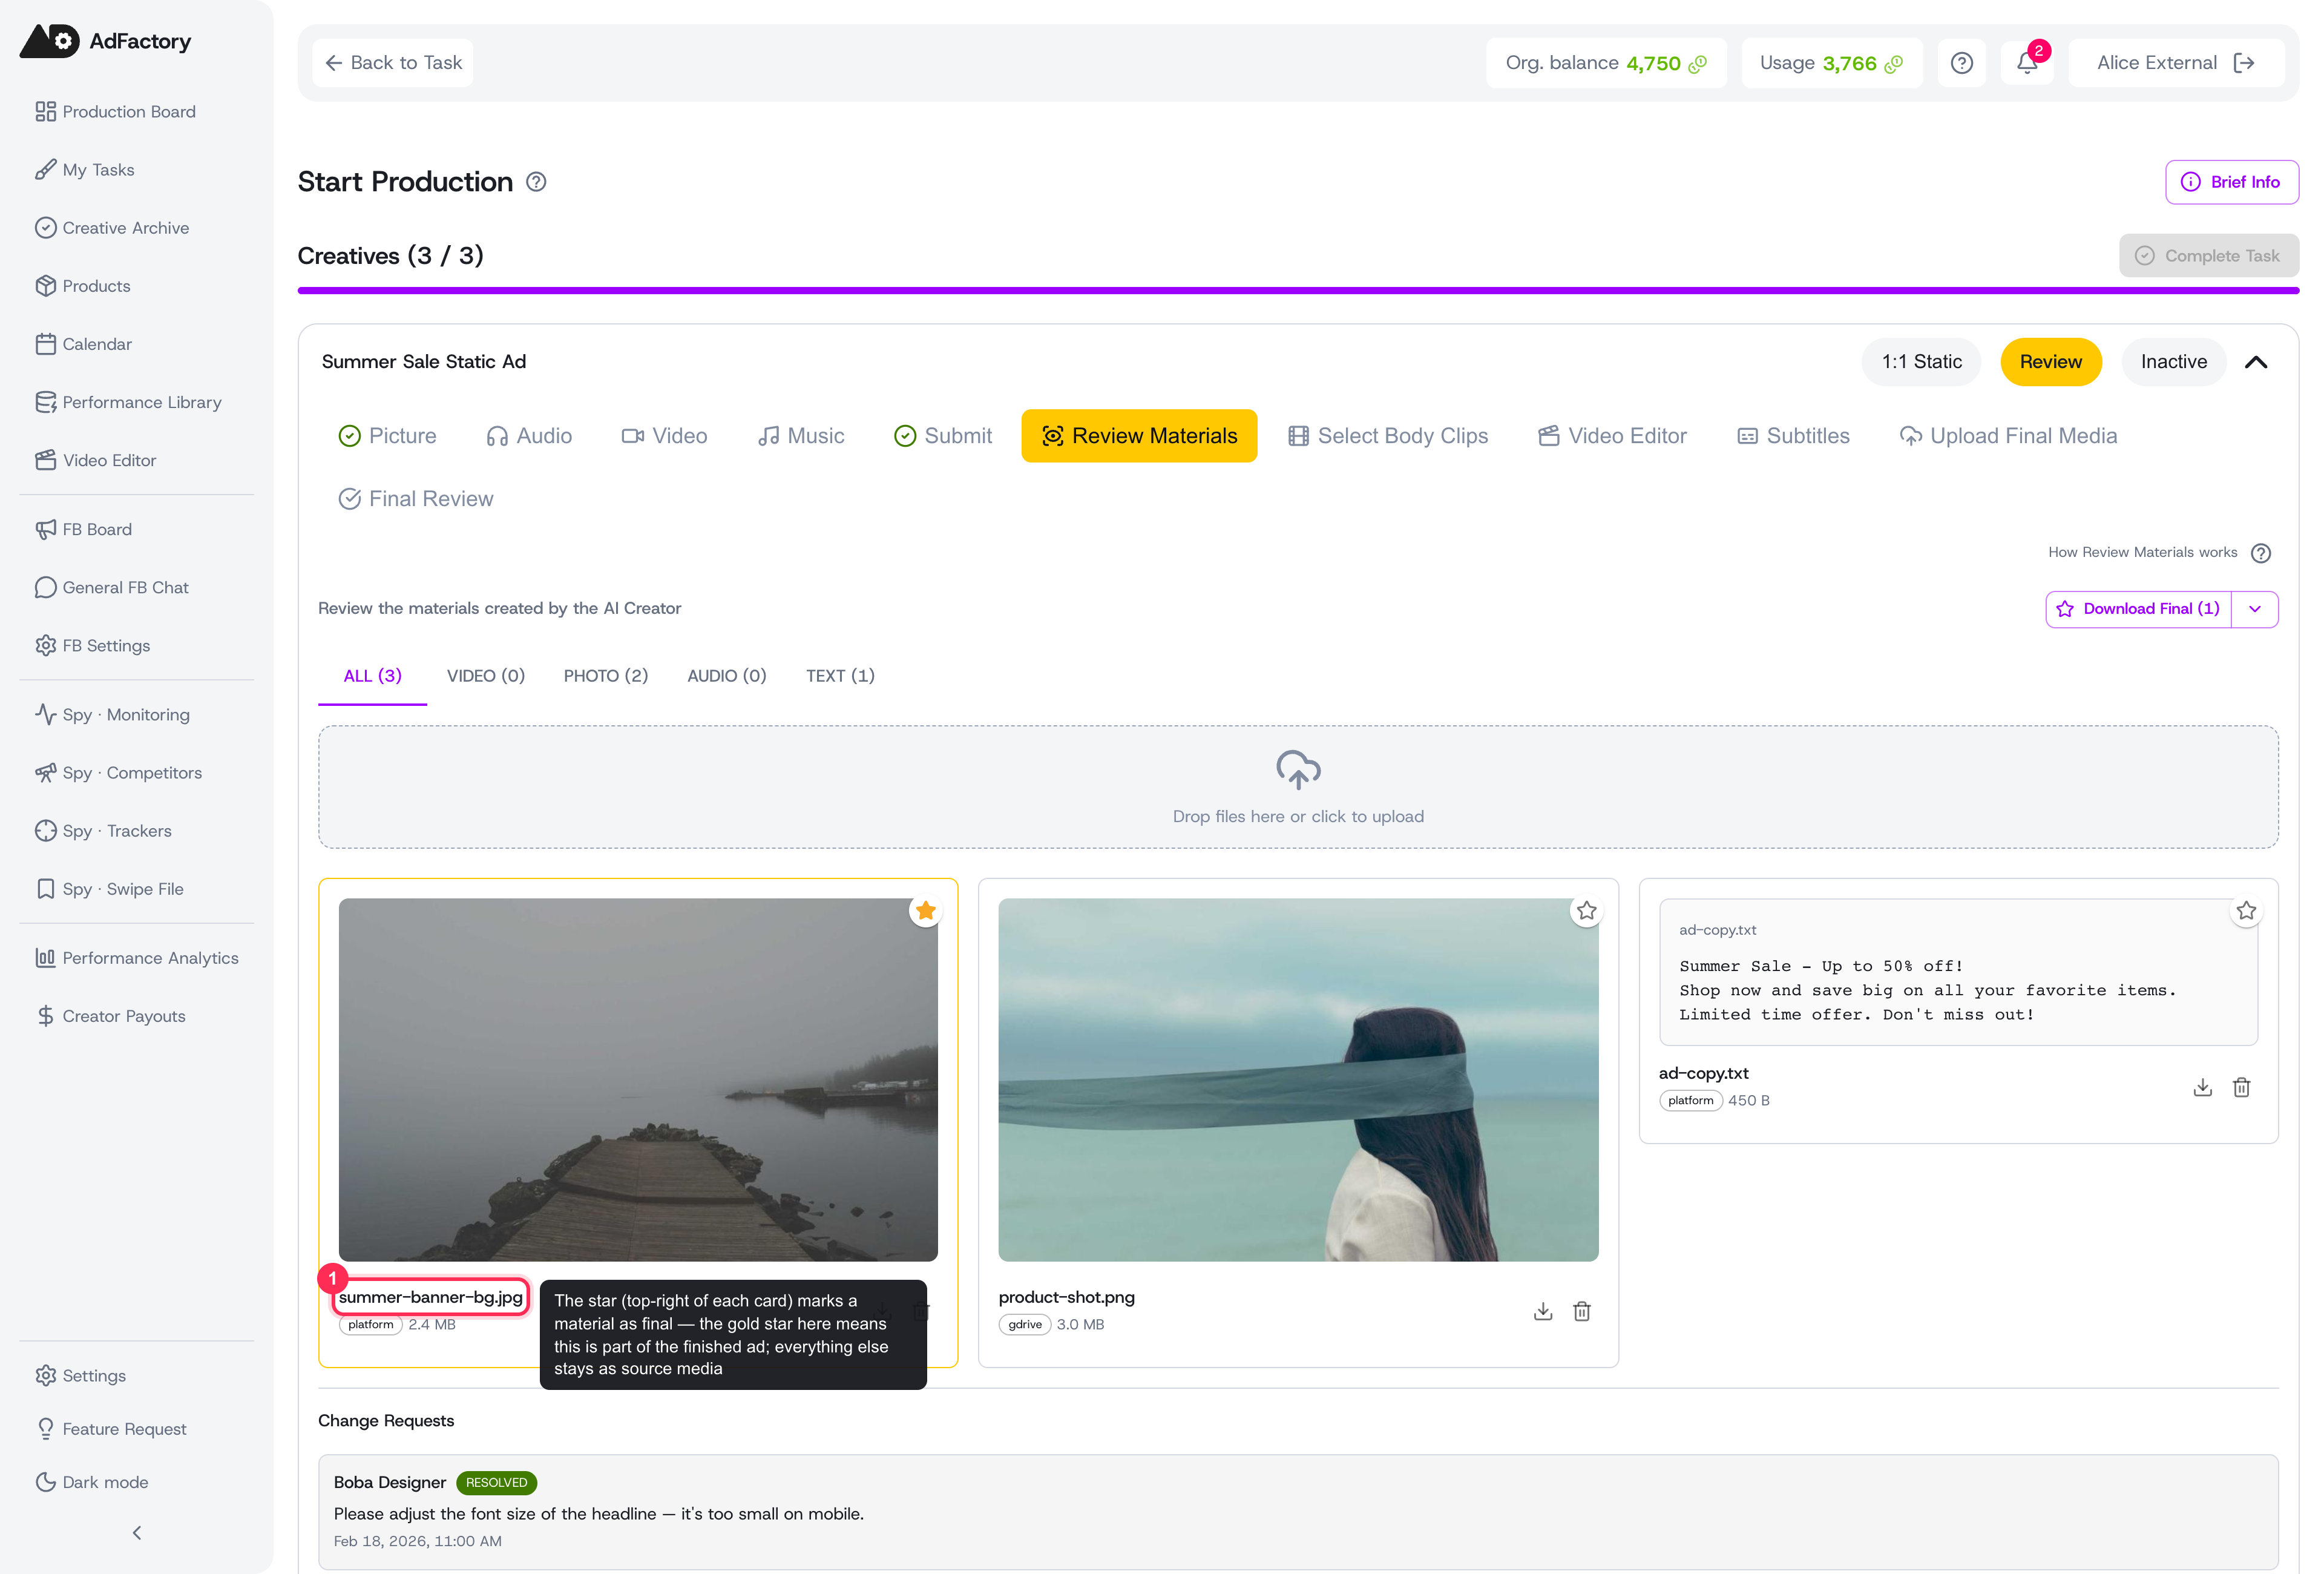 Star the outputs that are part of the finished ad so reviewers know which materials matter
Submit for review
When the creative is ready, use the Submit step to send it into the creative review pipeline. From there it's reviewed, refined through change requests if anything needs work, and ultimately added to your approved creatives.